The battery in the receiver is used to maintain the station memory. I’ve also read that it does some things for the PLL (not sure I believe this…). I do know that the clock loses time when the unit is unplugged. After this repair, the clock keeps time when the unit is unplugged.
In the service manual, the battery is seen on page 83, near IC 50 and diodes D51 and D52. The schematic shows it to be a CL2020, 3V battery. 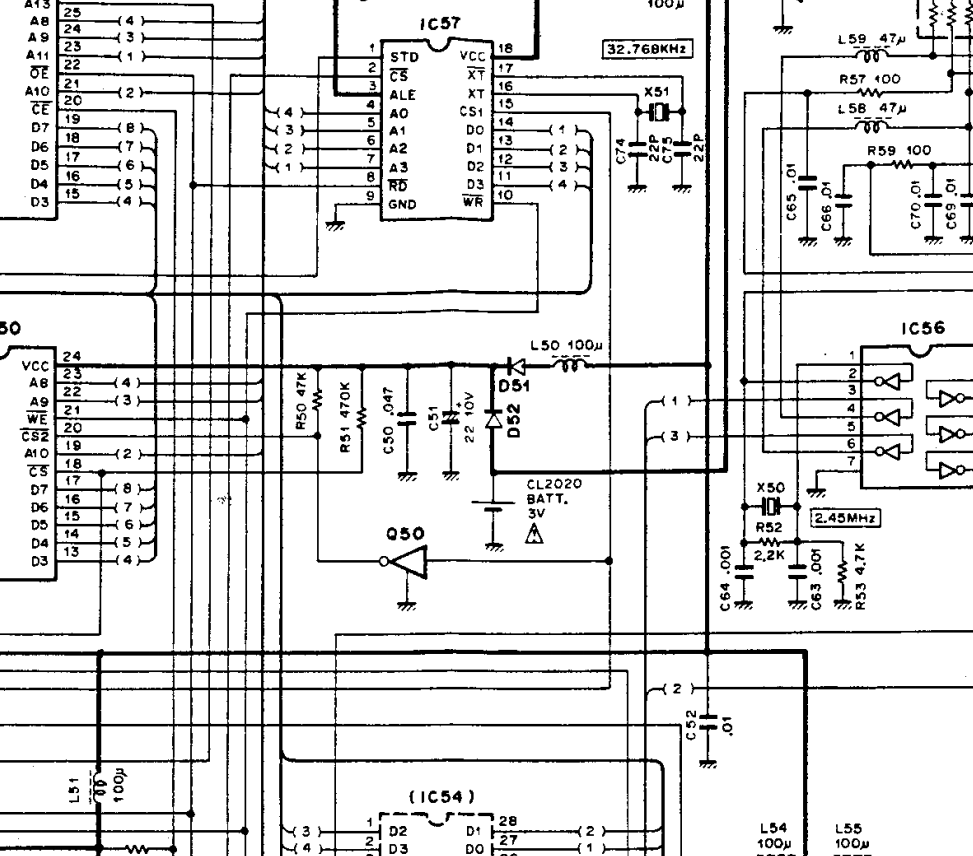
Finding info about the CL2020 is a bit difficult but piecing together info it seems to be a 3V, 20mah, 20.0mm dia. x 2.0mm single cell rechargeable lithium coin battery. The “modern” equivalent is the Panasonic VL2020 (ref 1) which are easy to come by. See the illustrations for the original CL2020 and the VL2020. Both have tabs and are thus the CL2020 is a simple drop-in replacement.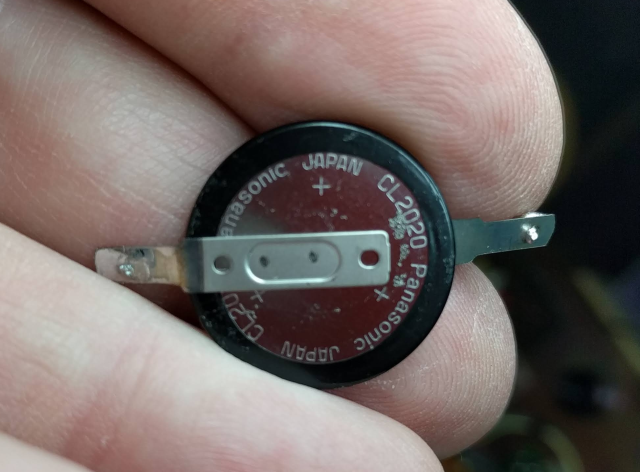
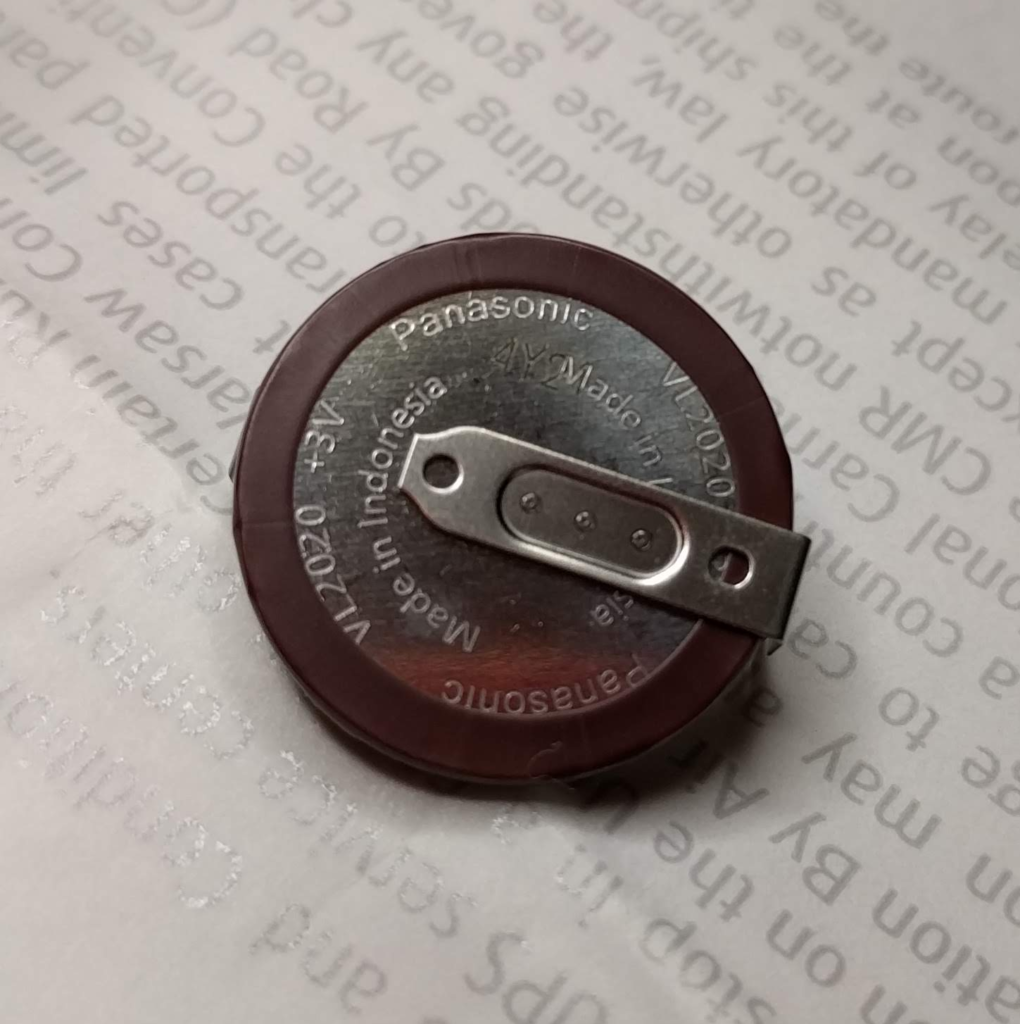
I’ve seen some discussion where folks were replacing CL2020 with CR series batteries (CR2032, CR2450, and CR2477). These are not rechargeable batteries (Ref 2). Others have suggested LR2032 — but these are 3.6V batteries. The VL2020 seems to be the best modern replacement battery that meets the voltage and power requirements and, importantly, is meant to be recharged.
After some extensive internet searching, I was unable to find a satisfying cookbook for replacing the battery. Some folks said it was difficult and so I was a bit leery of doing this. I’ve now done it and it really is quite simple. So, this is what I did and I hope this helps.
Note: I found this after I’d already written this up…another replacement cookbook: https://groups.io/g/kenwood-r5000/files/R-5000_battery.pdf
FWIW, the CL2020-PS1 is a battery that is/was used in ThinkPad 300 350’s for clock backup. It looks like a CL2020 with pigtails for attaching to the laptop’s mother board. You could probably use it, if you find one, but the VL2020 seems like a simpler solution.
Post Note: The VL2020 comes in three tab configurations F, H and V. The V has an tab offset and is what is used in BMW keyfobs. The H has the tabs centered with PC soldering legs 180 degrees apart. The F configuration is like the original battery in the radio with tab wings out 180 degress apart and with a hole for soldering onto the vertical wire posts as in the original. I managed to get the F type — but the other probably will work fine with a little fiddling.
Battery Replacement:
- Remove the top and bottom covers.
- Remove the 5 screws (2 on top and 3 on bottom) holding the shield on the front panel which covers the microprocessor and other ICs. Leave the shield in place – do not try to remove it yet. You are removing these 5 screws now because when you hinge out the front panel in the next step, you cannot easily reach them.
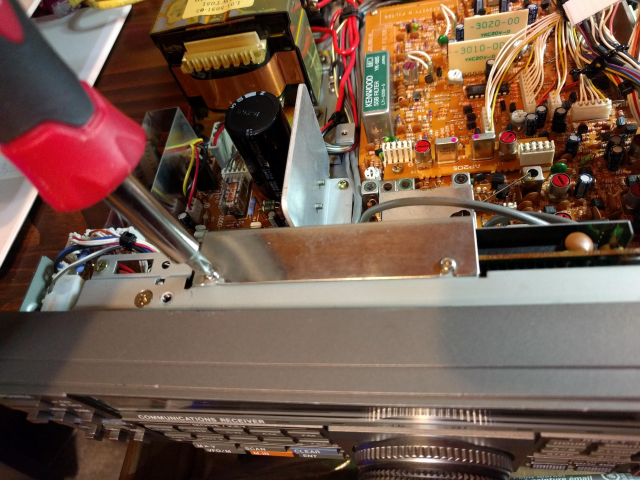
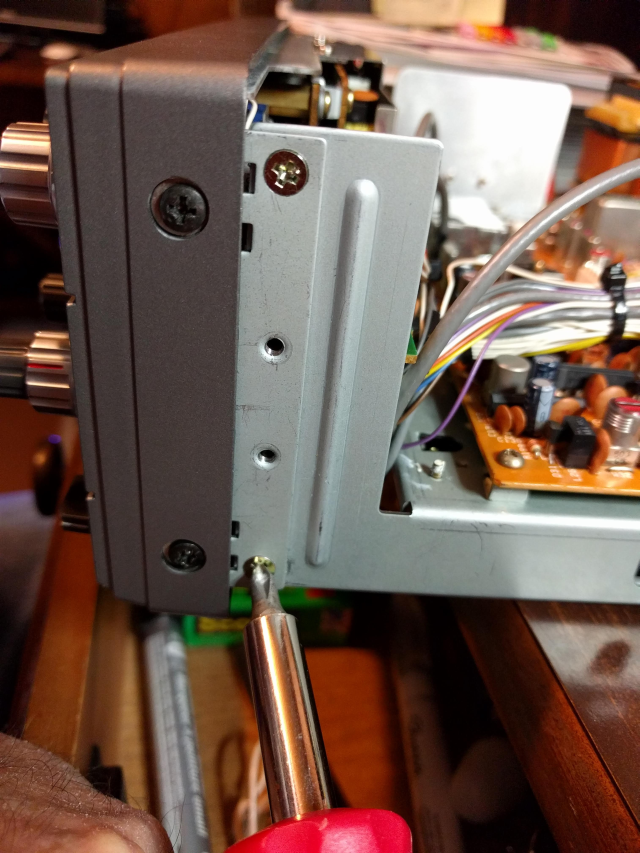
- Remove the 4 screws (2 on each side) holding the front panel to the main chassis. NOT the ones holding the plastic front bezel. See where the screw driver is in the illustration below. Note that radio is on a table with the front panel extending out over the edge.
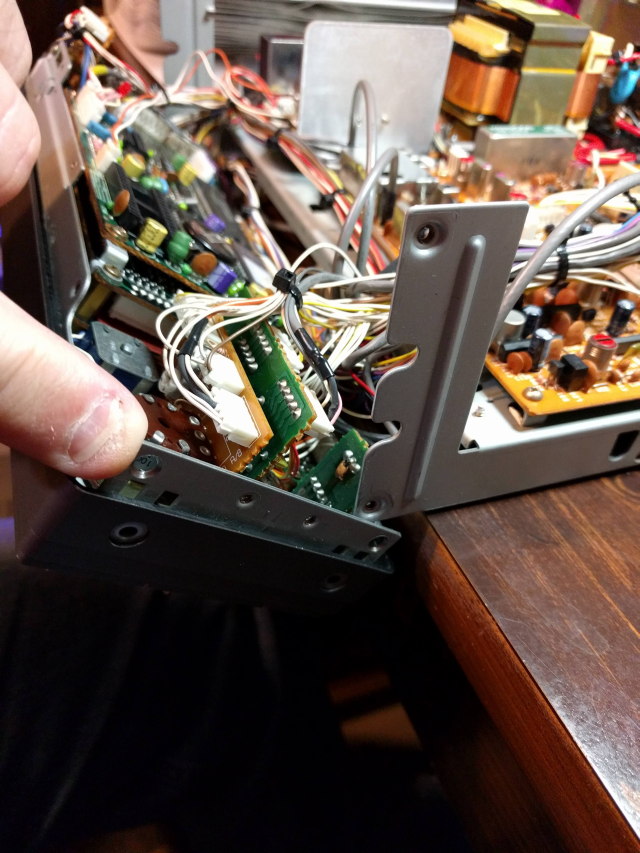
- Gently hinge out the front panel away from the main chassis. Do this right and let the top hinge out away from the chassis. It is easier if you let the radio extend off the edge of a table so that the front panel can hinge below the level of the table. (The photo below shows hinging — but note I took the photo after I had removed the shield that you will do in the next step.)
- Carefully remove the shield. Note how this is fit – especially which wires are under the shield and how they are routed. After removal, the underlying circuits – and the battery — are exposed (as seen in photo below).
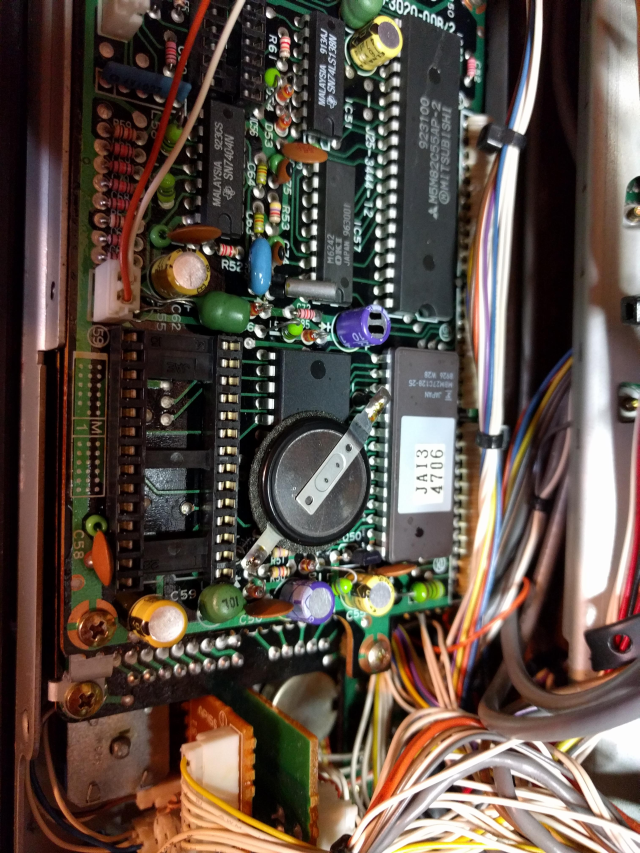
- Unsolder the battery from the upright wires. And then carefully remove the battery which is held in place with double-sided sticky material. Save the sticky material. BE SURE TO NOTE THE POLARITY OF THE OLD BATTERY. The + side (down onto the IC) tab goes to the vertical wire near the empty socket.
- Bend out the tabs of the new battery to mimic the old battery. Place the sticky stuff onto the back of the new battery.
- Press it back onto the IC while locating the tabs so that they can be soldered to the upright wires. BE SURE TO REPLACE THE BATTERY WITH THE RIGHT POLARITY.
- Solder it back.
- Replace the shield and reverse the assembly operation.
When plugged in and turned off, the power supply will charge the battery. After leaving the unit plugged in overnight, the clock retains the time even when the unit is unplugged. SUCCESS!
Ref:
2 https://industrial.panasonic.com/cdbs/www-data/pdf/AAA4000/AAA4000COL15.pdf
